You want to integrate a lottie animation in your Webflow project, but you don't know how to do it? Read our article to learn how to integrate this kind of light and high quality animation and make interactions with it!
Nowadays, it is important to have a website or a mobile application for your business. It allows you to have online visibility and therefore generate new leads. However, with the democratisation of digital, it is now also important to have a site that stands out from the competition. To achieve this, we can act on different points: UX, UI, SEO, Automation, etc. What a web user likes most is to arrive on a lively, interactive site. This is possible thanks to animations.
Today, we are going to talk about lottie animations and more particularly about the method to add a lottie animation in your Webflow project.
What is a lottie animation?
A lottie animation is an animation composed entirely of code. It is a digital description of all the shapes, colours and movements of an animation. These animations can be used on a website, on mobile applications or on digital and connected objects.
The big advantage of lottie animations is that this type of file format is very light. It is much lighter than a GIF or even a PNG. One could then say that the quality of these animations is not so good, but it is the opposite. Lottie animations have a very high quality (a very good resolution) because they are vector elements and raster images.
Lottie animations allow you to have interactive animations on your site or other media. They have really been a revolution in web development as they allow to bring a site or an application to life without impacting the performance of the site. The additional loading time is really negligible which allows to improve the user experience at the same time as the user interface and therefore the SEO.
How to create or retrieve a lottie animation?
There are several ways to either create or retrieve lottie animations.
1. Create a lottie animation
If you want to have a unique animation, you can create it. There are many software programs for this, but the most famous is After Effects. There are many tutorials on YouTube or blog posts to learn how to make a custom lottie animation.
2. Download a lottie animation
Here again, there are many sites on which to download your lotties animations. However, we have selected 2 that we think are the best:
- LottieFiles is probably the best known tool for lottie animations. You can download animations for free, sell or buy them on a marketplace, create animations or have access to a whole bunch of resources
- LottieFlow by Finsweet is a site that offers to download lottie animations directly for its Webflow site. You will find several categories to add nice animations to your website.
Add a lottie animation in your Webflow project
Method 1: Clone the LottieFlow project from Finsweet
The first and simplest method consists in cloning the LottieFlow project from Finsweet. This project takes all the lottie animations from the LottieFlow site, but directly in Webflow. Thus, the animations are already made and classified in different categories.
If you want to add one of these animations in your Webflow project, you just have to copy and paste the element you want.
A very simple and quick method to add a lottie animation, but limited to what has already been developed by Finsweet.
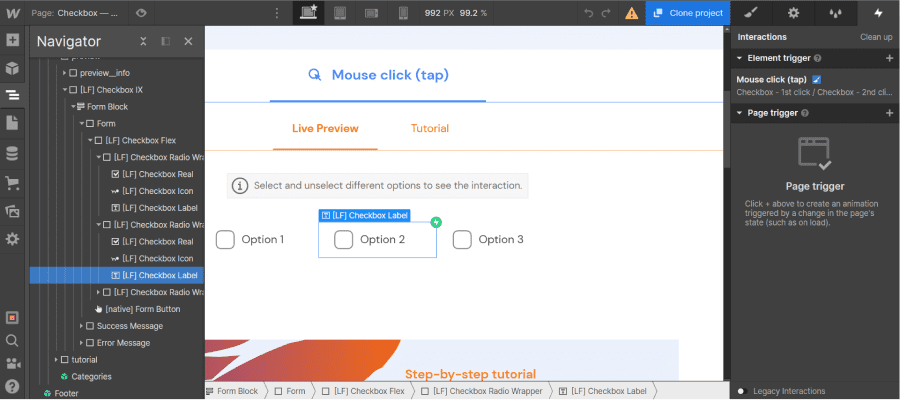
Method 2: Adding a custom animation
The first step is to download or create your lottie animation. For our example, we will download a "like" animation in JSON from lottiefiles.

Then we can go to our Webflow project. For our example, we will clone the Webflow template: Slider TikTok from Digidop in the Webflow Showcase.
To insert a lottie animation, simply add the element (shortcut ctrl/cmd + E) "lottie animation". Just like an image, you can choose which animation you want to insert. In the assets, we can upload our JSON file. For referencing purposes we strongly recommend that you rename your file.
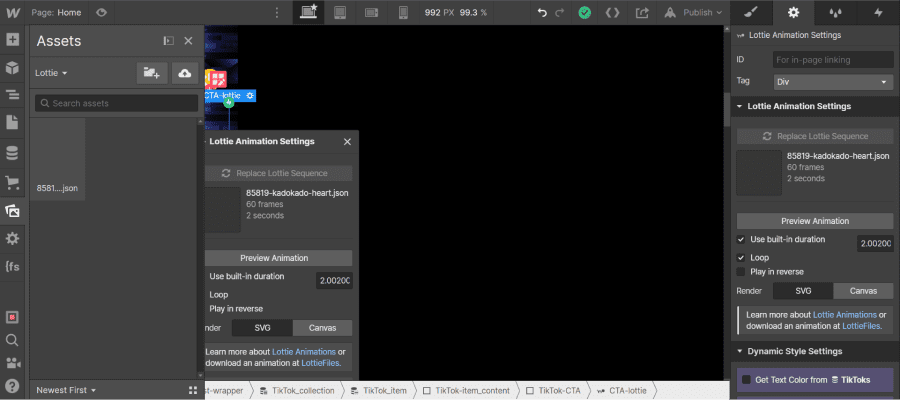
In the settings, you will be able to touch several options. You can play on the duration, on the repetition and on the direction of playback. Each time, you can preview your animation.
We can leave it at that if we only want an animation. However, we can make sure to add interactions with the animation lottie in Webflow.
Example of interaction with a lottie animation in Webflow
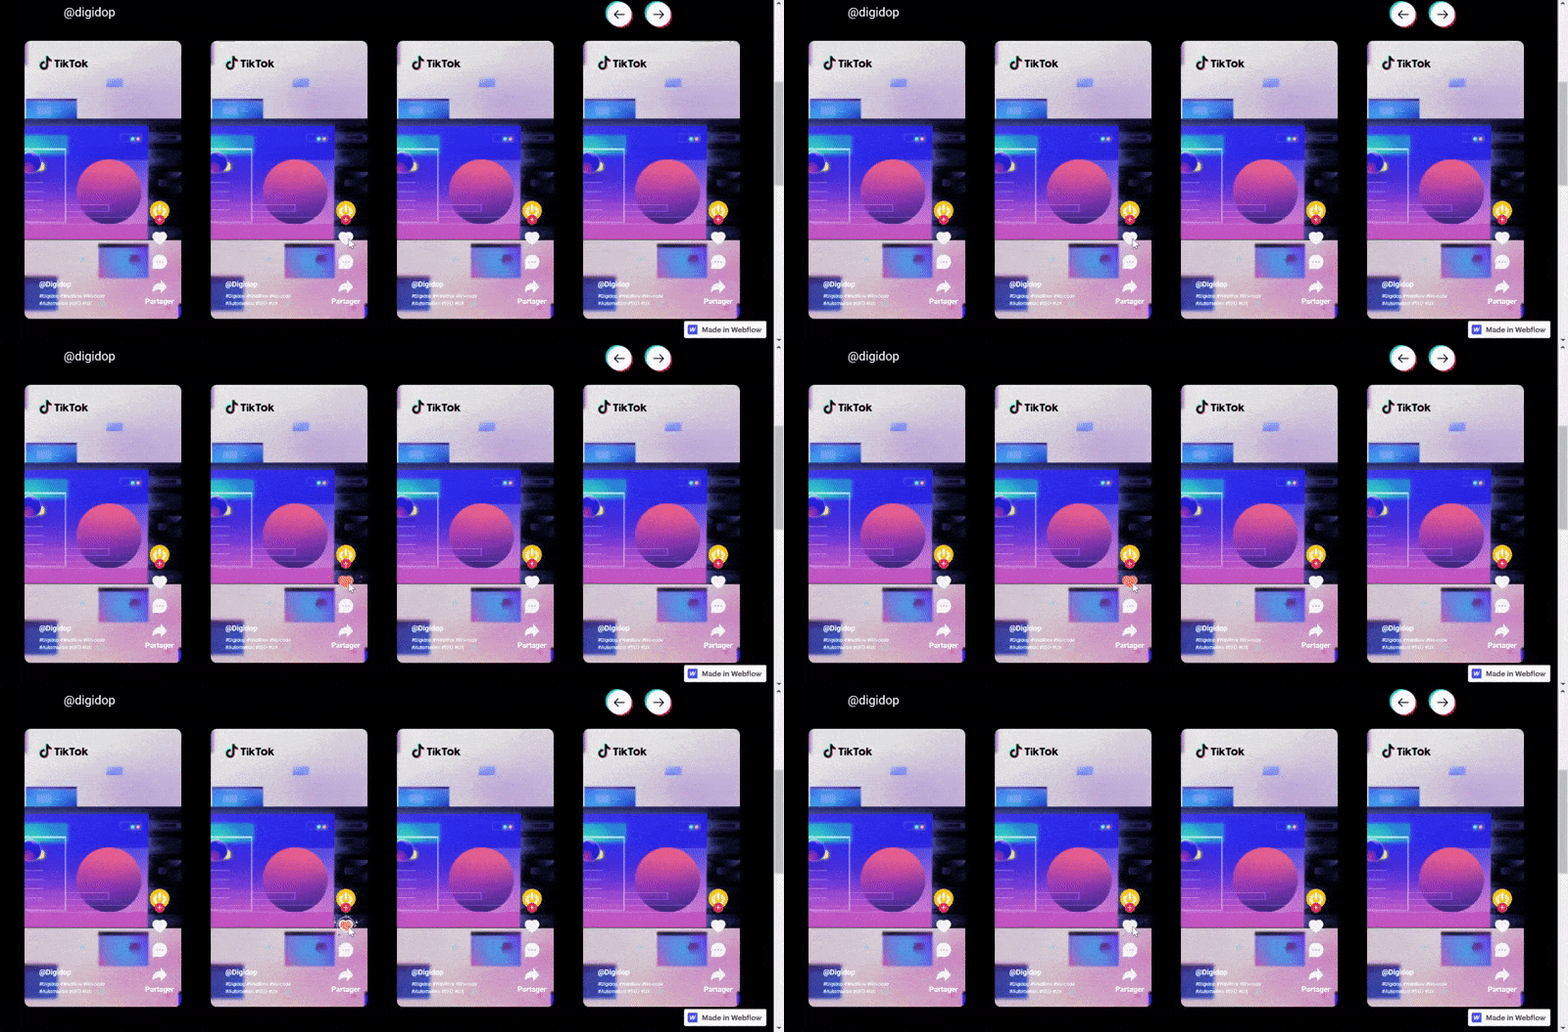
In our example, we will add an animation to the click. The goal of our animation will be to play the lottie animation by clicking on the "like" icon. By clicking a second time, the goal will be to remove the "like".

To achieve this, in the div block that includes our "like" icon, we will add our lottie animation. We will set the lottie animation to absolute and the parent div block to relative. We adjust the position of our lottie animation.
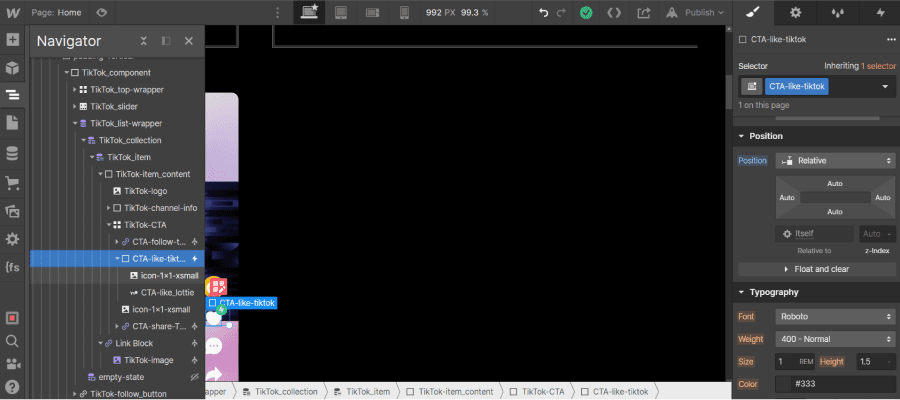
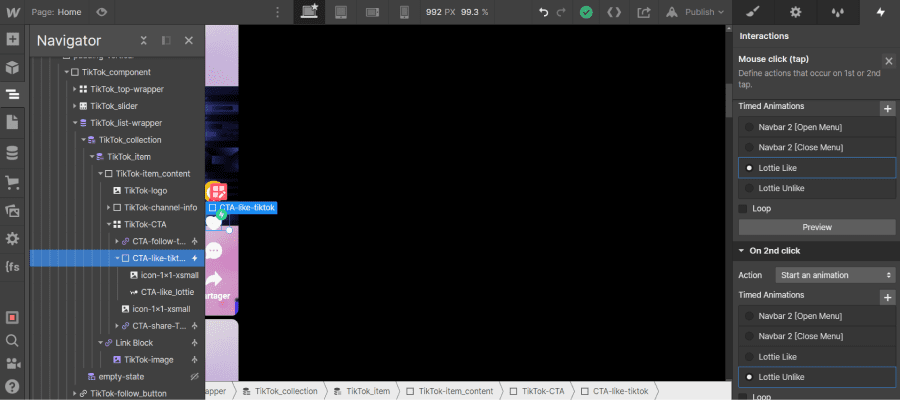
We will add an interaction to our parent block div in "mouse click (tap)".
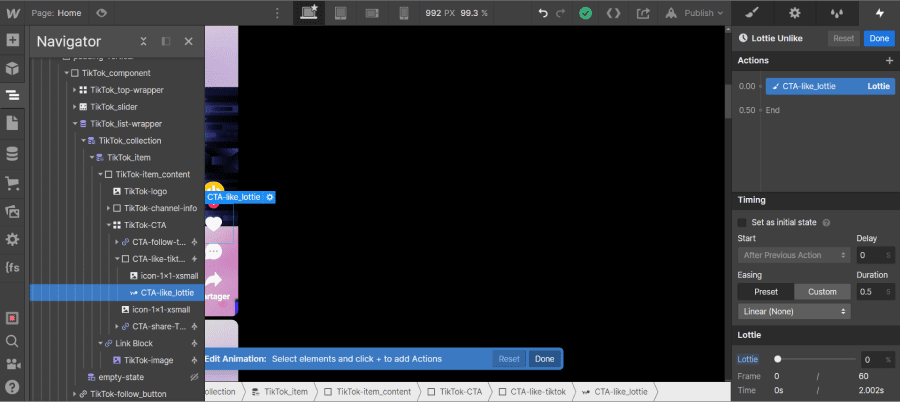
In "On 1st click", we choose "Start a new animation" and create a new animation. In the actions, we will click on our lottie element in the Navigator. Then we click on "+" next to actions in the interactions panel.
In the integrations section, we choose "lottie". We will set it as initial state and in lottie set it to 0%. Then we add another action "lottie" which starts after the previous action (After previous action) and in lottie we set it to 100%. We click on "done". At this stage, when we click on the "like" icon, our animation runs, but when we click again, nothing happens.
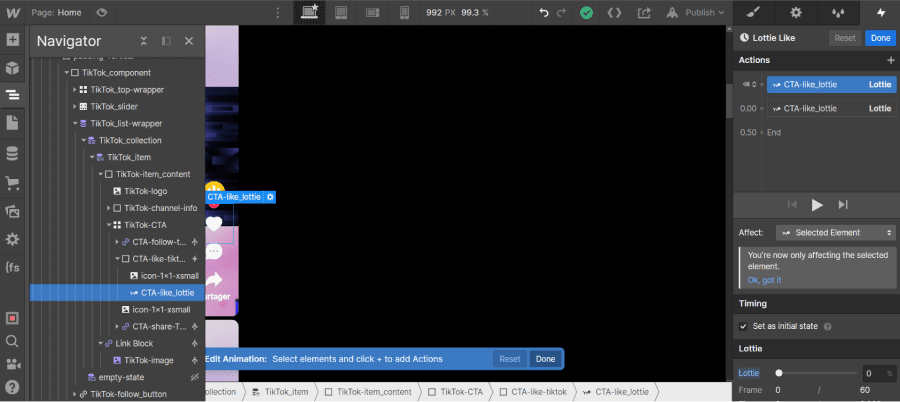
In this second step, we are going to make sure that when we click a second time, our lottie animation is reversed and that our basic "like" icon comes back. To do this, in "On 2nd Click", we add a new animation. We resize our "lottie" element, add a "lottie" action and in the lottie section, we choose 0%. We click on "done" and our interaction is ready.
The result:
That's it! You now know how to add a lottie animation to your Webflow project and create interactions with it.
For more information, you can read our article on how to build your Webflow project. You can also contact our Webflow agency to build your website.


.jpg)


