In this tutorial, you will learn how to customize the design of a radio button in a Webflow form! (youtube video also available 🍿)
Vous avez ajouté un <!-- fs-richtext-ignore --><radio button> dans votre formulaire natif sur Webflow et vous souhaitez lui donner un design particulier ? C'est possible. Suivi le guide avec un "How to Webflow" en Français ! 🇫🇷
Reminder 1: in webflow, everything is possible (or will become possible 🚀)
Video tutorial to customize a Webflow radio button
Text step by step tutorial
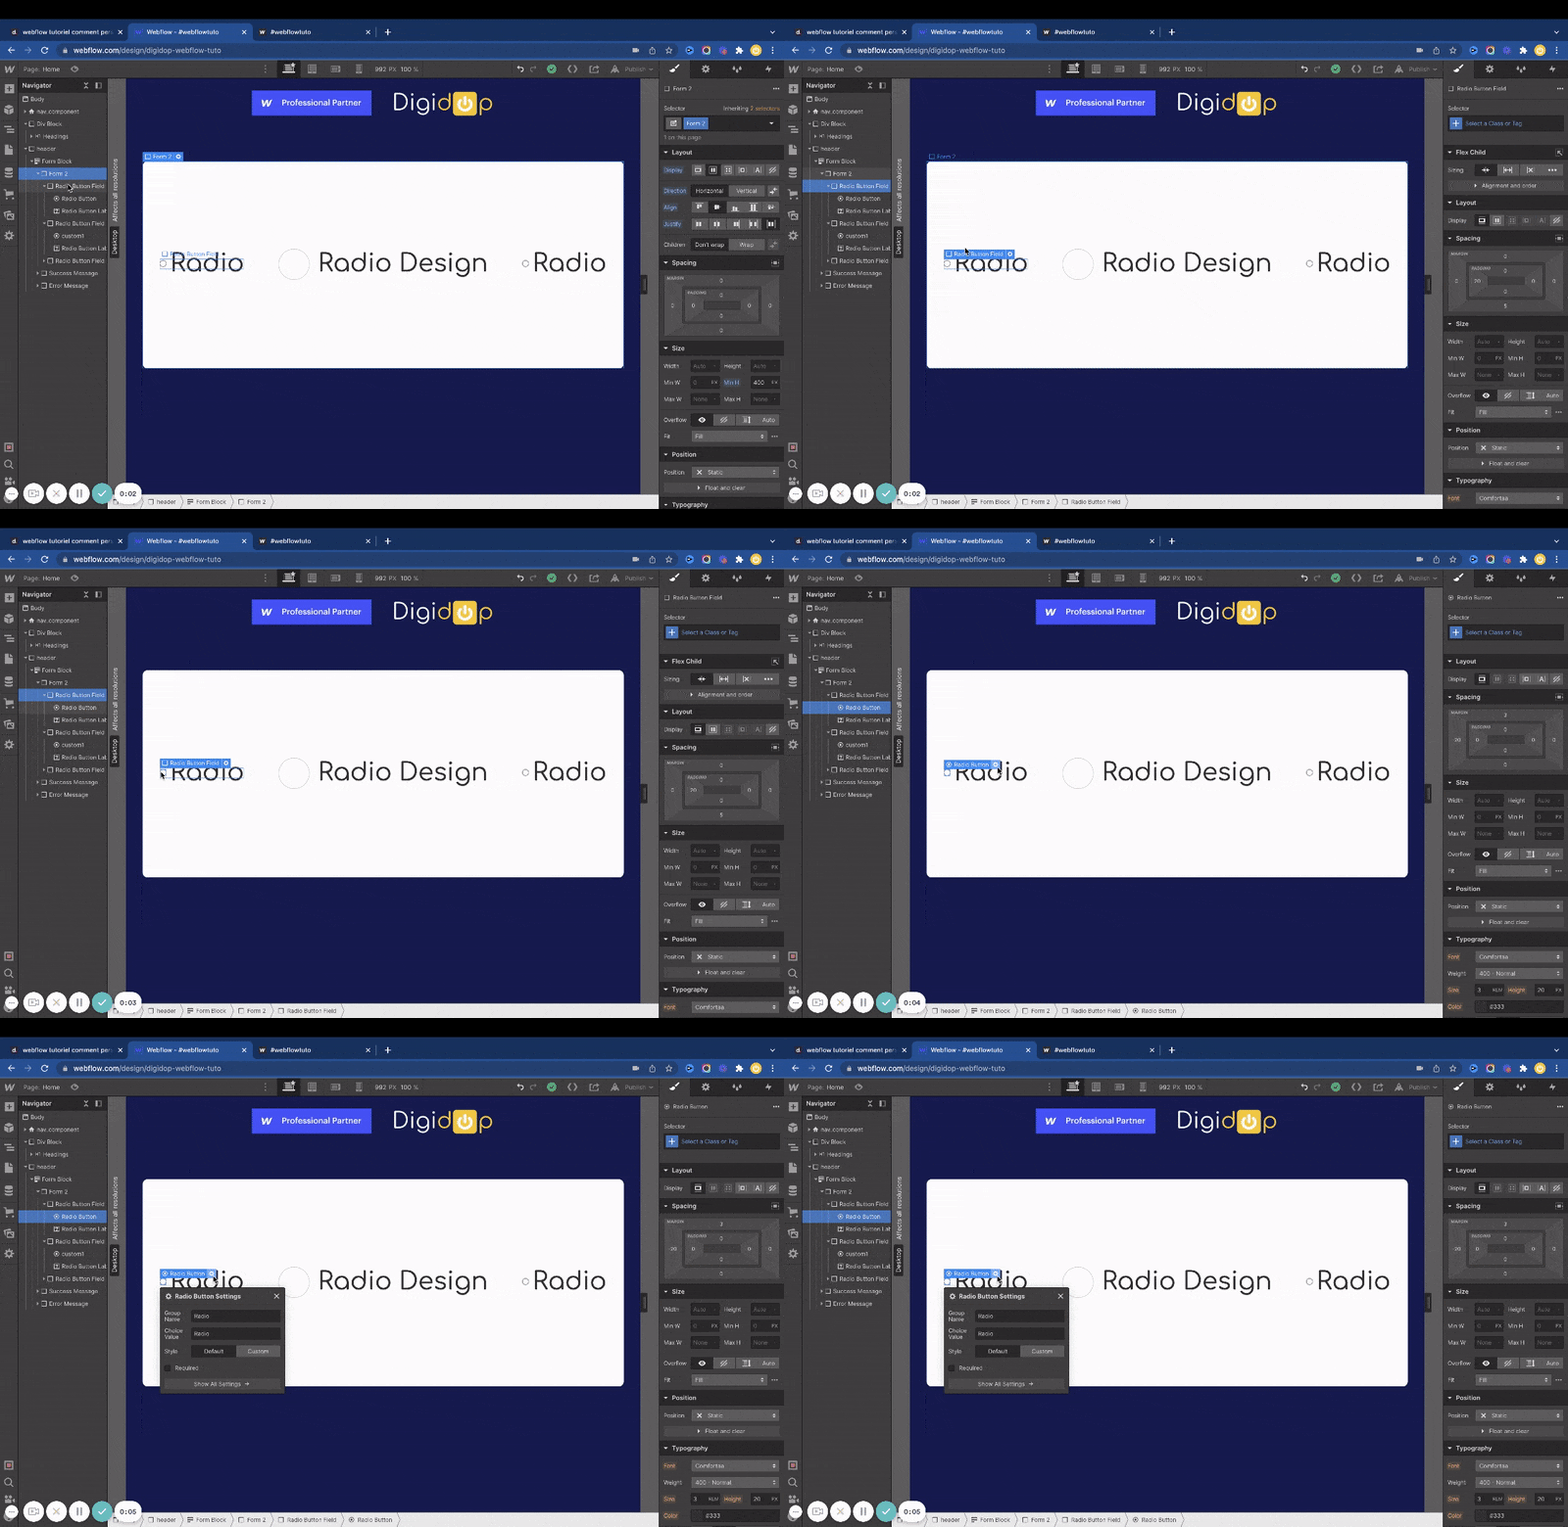
Étape 1 : Cliquez-sur l'élément <!-- fs-richtext-ignore --><radio button>
Select your button and click on the radio button circle in your Webflow designer.
Step 2: Open the "Settings" menu
Click on the ⚙️ icon to the right of the "Radio Button" which will open the settings for that button.

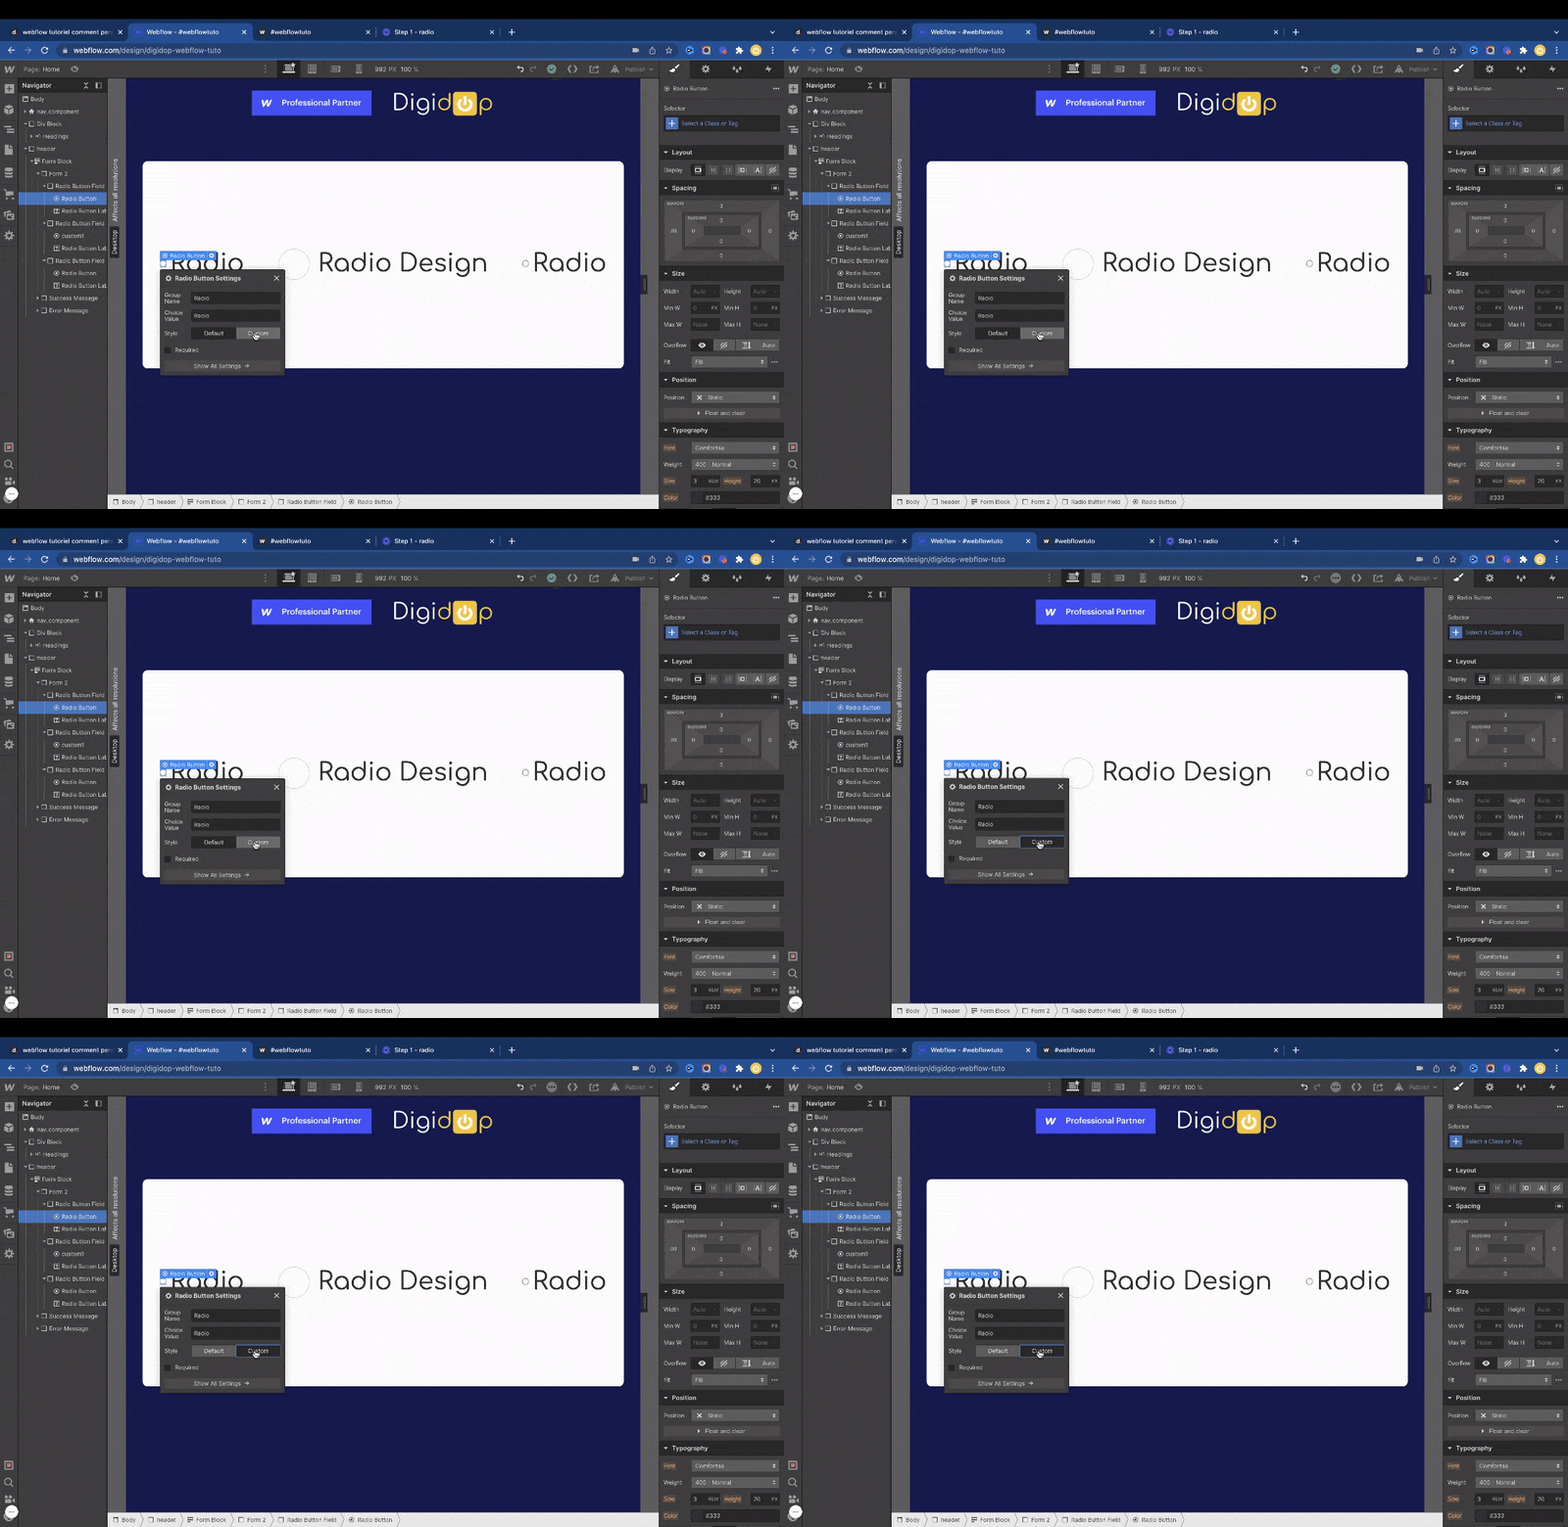
Step 3: Change the style to "Custom
Automatically, the radio buttons in Webflow are configured with a default style activated. To be able to design them, you must click on Custom. Easily switch from one style to another by clicking on Custom or Default.

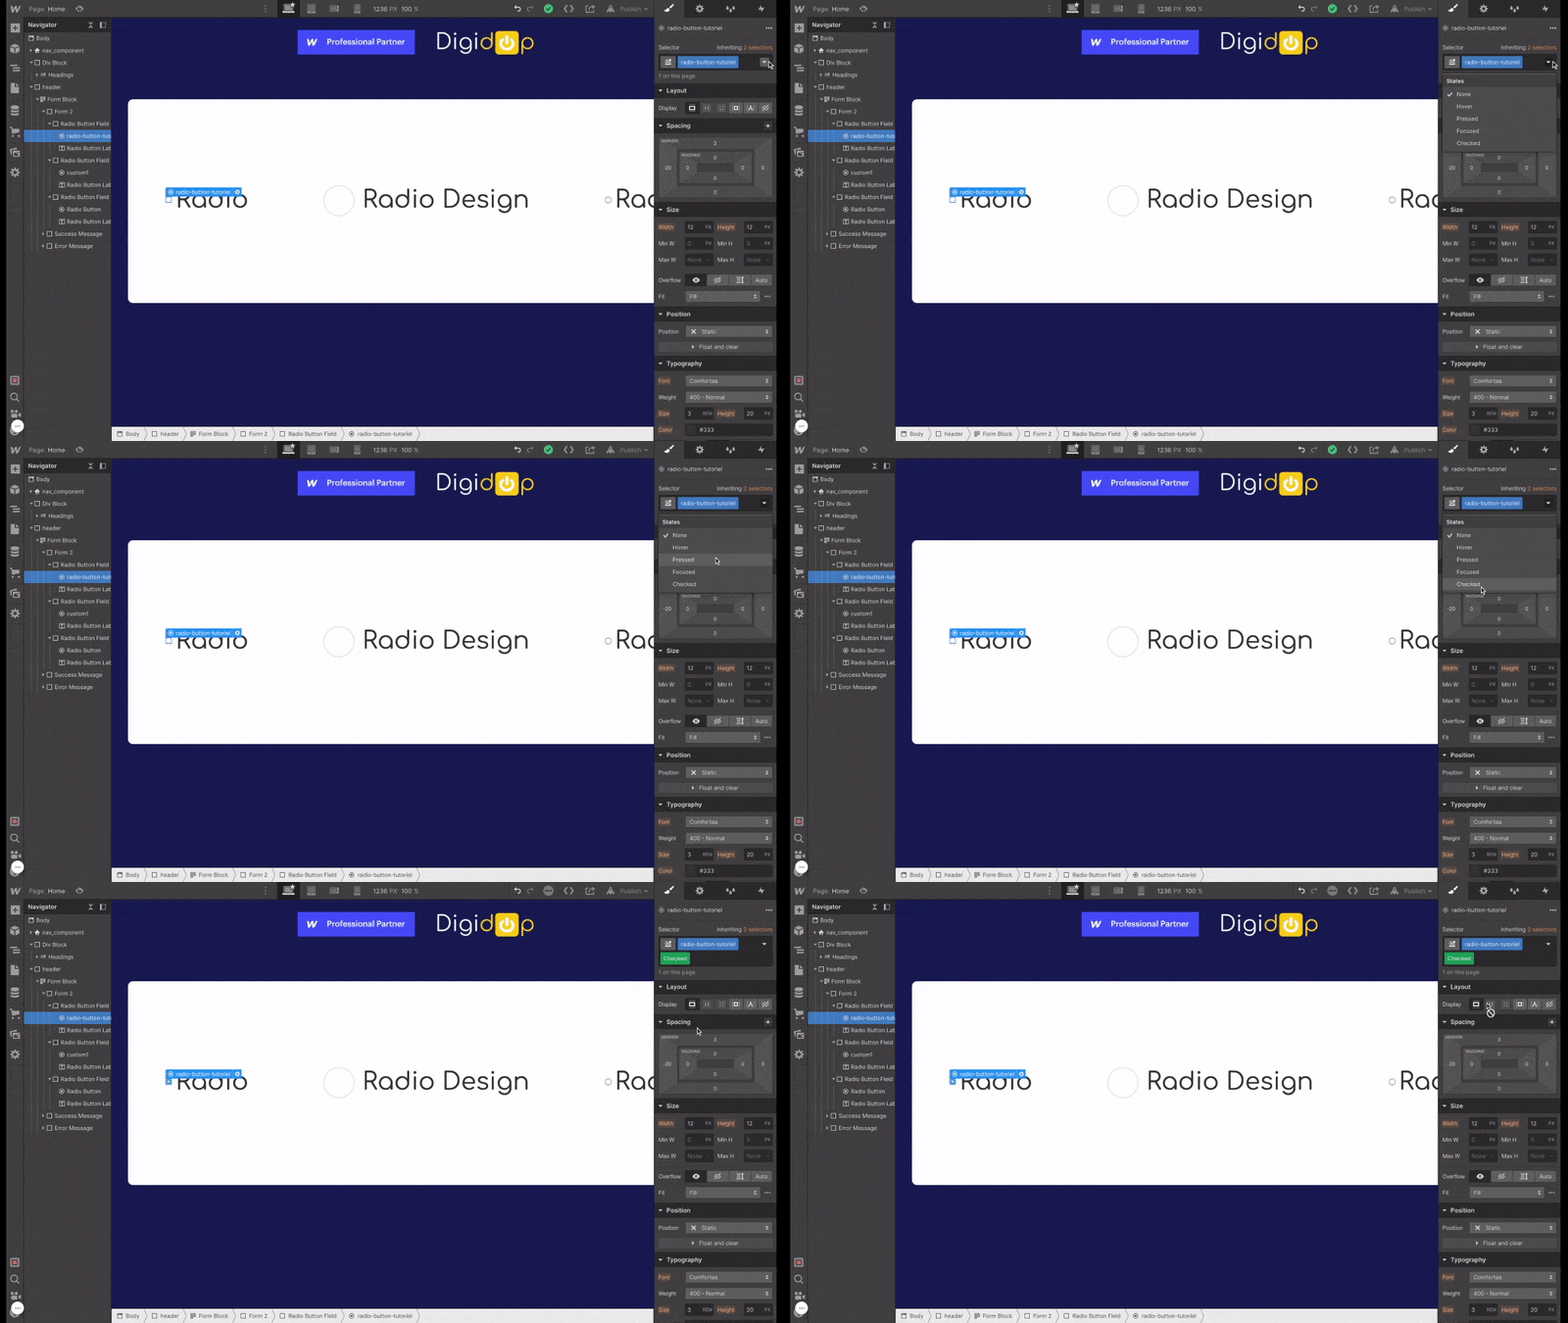
Step 4: Name this class
Green, red, blue, pink, yellow... big or small! What is your favourite colour? Let your creativity speak for itself :)
Step 5: Remember to set the style for the "checked" mode
Here you can set the style when the button is checked and disable it when it is not checked ✅

Now you just have to create captivating buttons for your Webflow forms!
Want to learn more about Webflow? Find a lot of Webflow tutorials on our youtube channel 🍿


.jpg)


