Sur le web, s'il existe des liens ET des boutons, c'est pour une bonne raison ! Chacun de ces éléments HTML a son propre contexte d'utilisation. Dans cet article, je vais vous expliquer :
- Pourquoi il est important de savoir quand utiliser un lien ou un bouton en HTML.
- La différence "technique" et les meilleures pratiques d'utilisation des liens et des boutons.
- Comment contourner le problème des "faux" éléments boutons si vous utilisez le CMS Webflow.
1. Pourquoi il est important de comprendre la différence ?
Si vous souhaitez mettre en place les meilleures pratiques web sur votre site internet, il y a au minimum trois bonnes raisons d'utiliser correctement la sémantique "a" vs "button" :
1.1 Amélioration de l'accessibilité:
- Amélioration de l'expérience utilisateur pour les personnes utilisant des technologies d'assistance.
- Navigation au clavier facilitée, essentielle pour les utilisateurs ne pouvant pas utiliser une souris.
1.2 Optimisation de la sémantique HTML :
- Meilleure compréhension du contenu par les moteurs de recherche, ce qui peut améliorer le référencement naturel (SEO).
1.3 Conformité aux standards web:
- Respect des standards du W3C, assurant une meilleure compatibilité avec les différents navigateurs et appareils (ordinateurs, tablettes, mobiles).
En résumé, l'utilisation correcte des éléments "a" et "button" améliore l'accessibilité de votre site internet, la qualité de votre sémantique et se conforme aux standards du web. Chez Digidop, agence webflow experte en SEO, nous sommes convaincus que le SEO est aussi une histoire de "bon sens", et donc, que l'intégration de ces bonnes pratiques sur votre site peut avoir un impact positif sur l'indexation de votre site sur les moteurs de recherche comme Google.
En savoir plus sur le SXO et comment le SEO fonctionne de façon "logique".
2. Comment bien les utiliser sur Webflow ?
Si vous écrivez votre code "from scratch", vous savez donc maintenant que vous devez être vigilant dans la rédaction de votre HTML. Mais si vous utilisez des outils no-code ou low-code, comment bien utiliser la sémantique "a" et "button" ?
Plongeons dans le cas Webflow !
2.2 [Option 1] Utiliser des attributs :
L'utilisation d'un attribut aria permet de donner une indication supplémentaire aux navigateurs à la lecture de votre code HTML. Vous pouvez donc venir "changer" le rôle d'un élément en ajoutant une nouvelle information.
Ajouter des valeurs aria de descriptions afin de définir les rôles (type) des éléments Link & Buttons est donc une solution qui fonctionne afin que les moteurs de recherche fassent bien la distinction. C'est par exemple ce que fait Webflow avec son "Button Submit" pour ses formulaires.
Bref, une option qui fonctionne... mais pas optimale. Car il est maintenant possible de le faire sans ajout de balise manuelle, ni utilisation d'attribut aria, en créant nativement un vrai bouton HTML.
Conclusion
Les liens sont à utiliser pour déplacer l'utilisateurs vers un nouveau "lieux" (action de navigation) alors que les boutons servent à déclencher une action (sur la même page). Utiliser le bon élément HTML permet d'améliorer l'accessibilité globale de votre site internet.
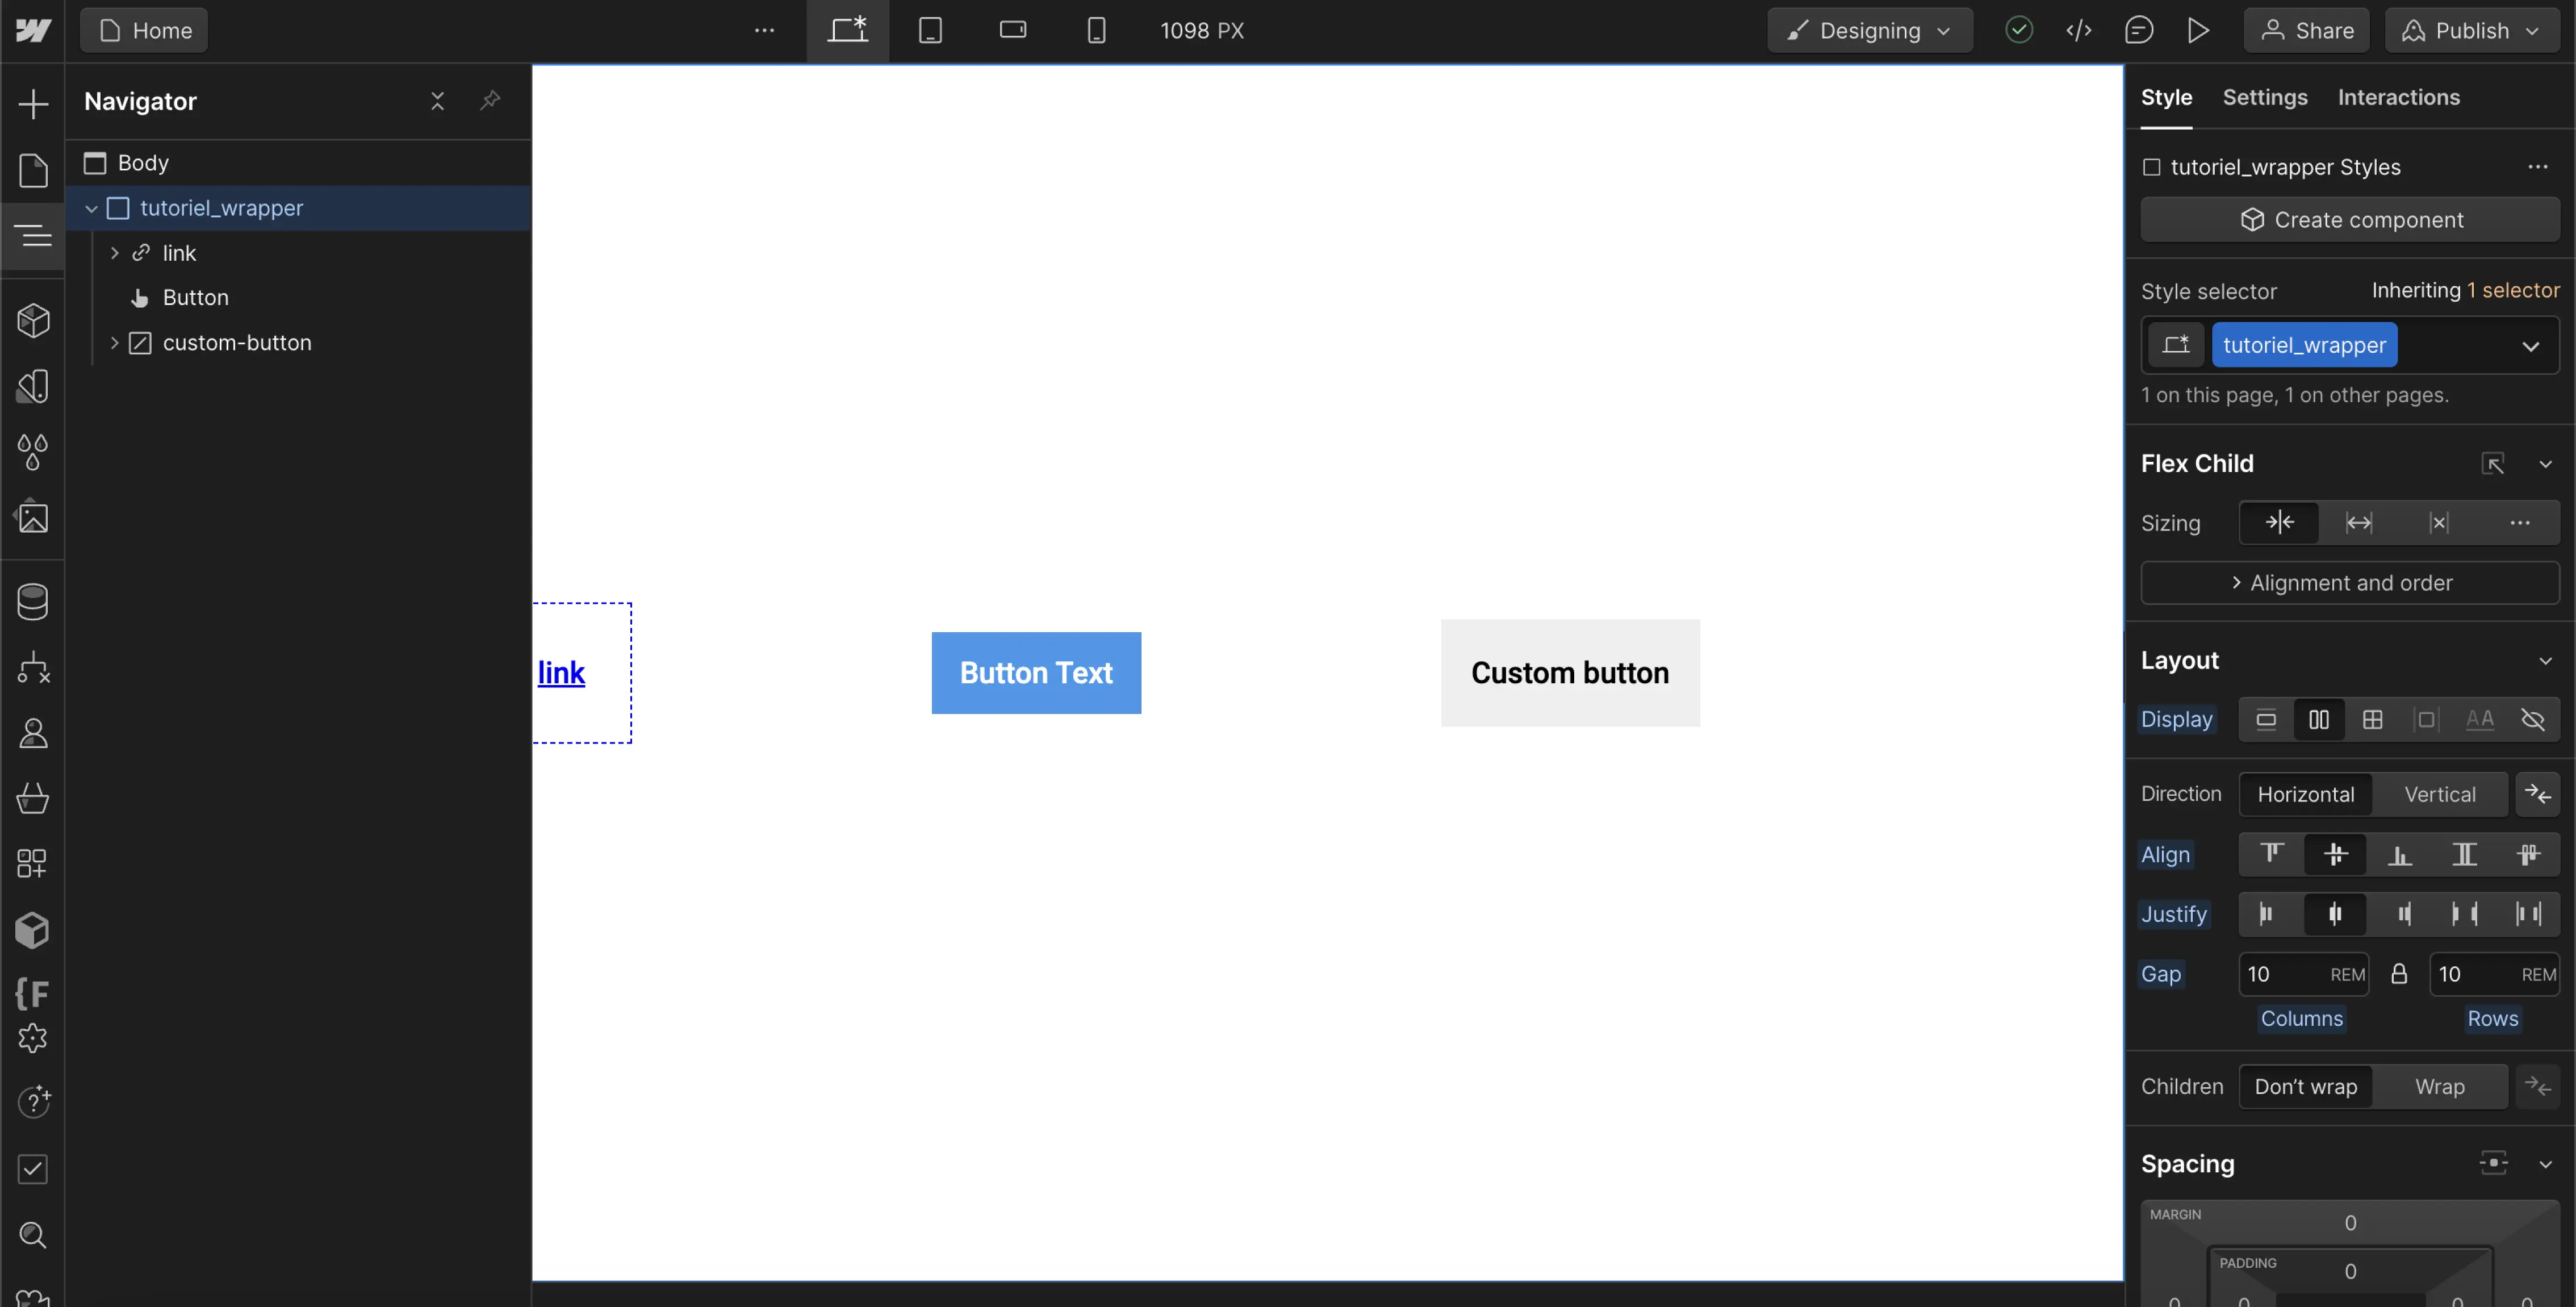
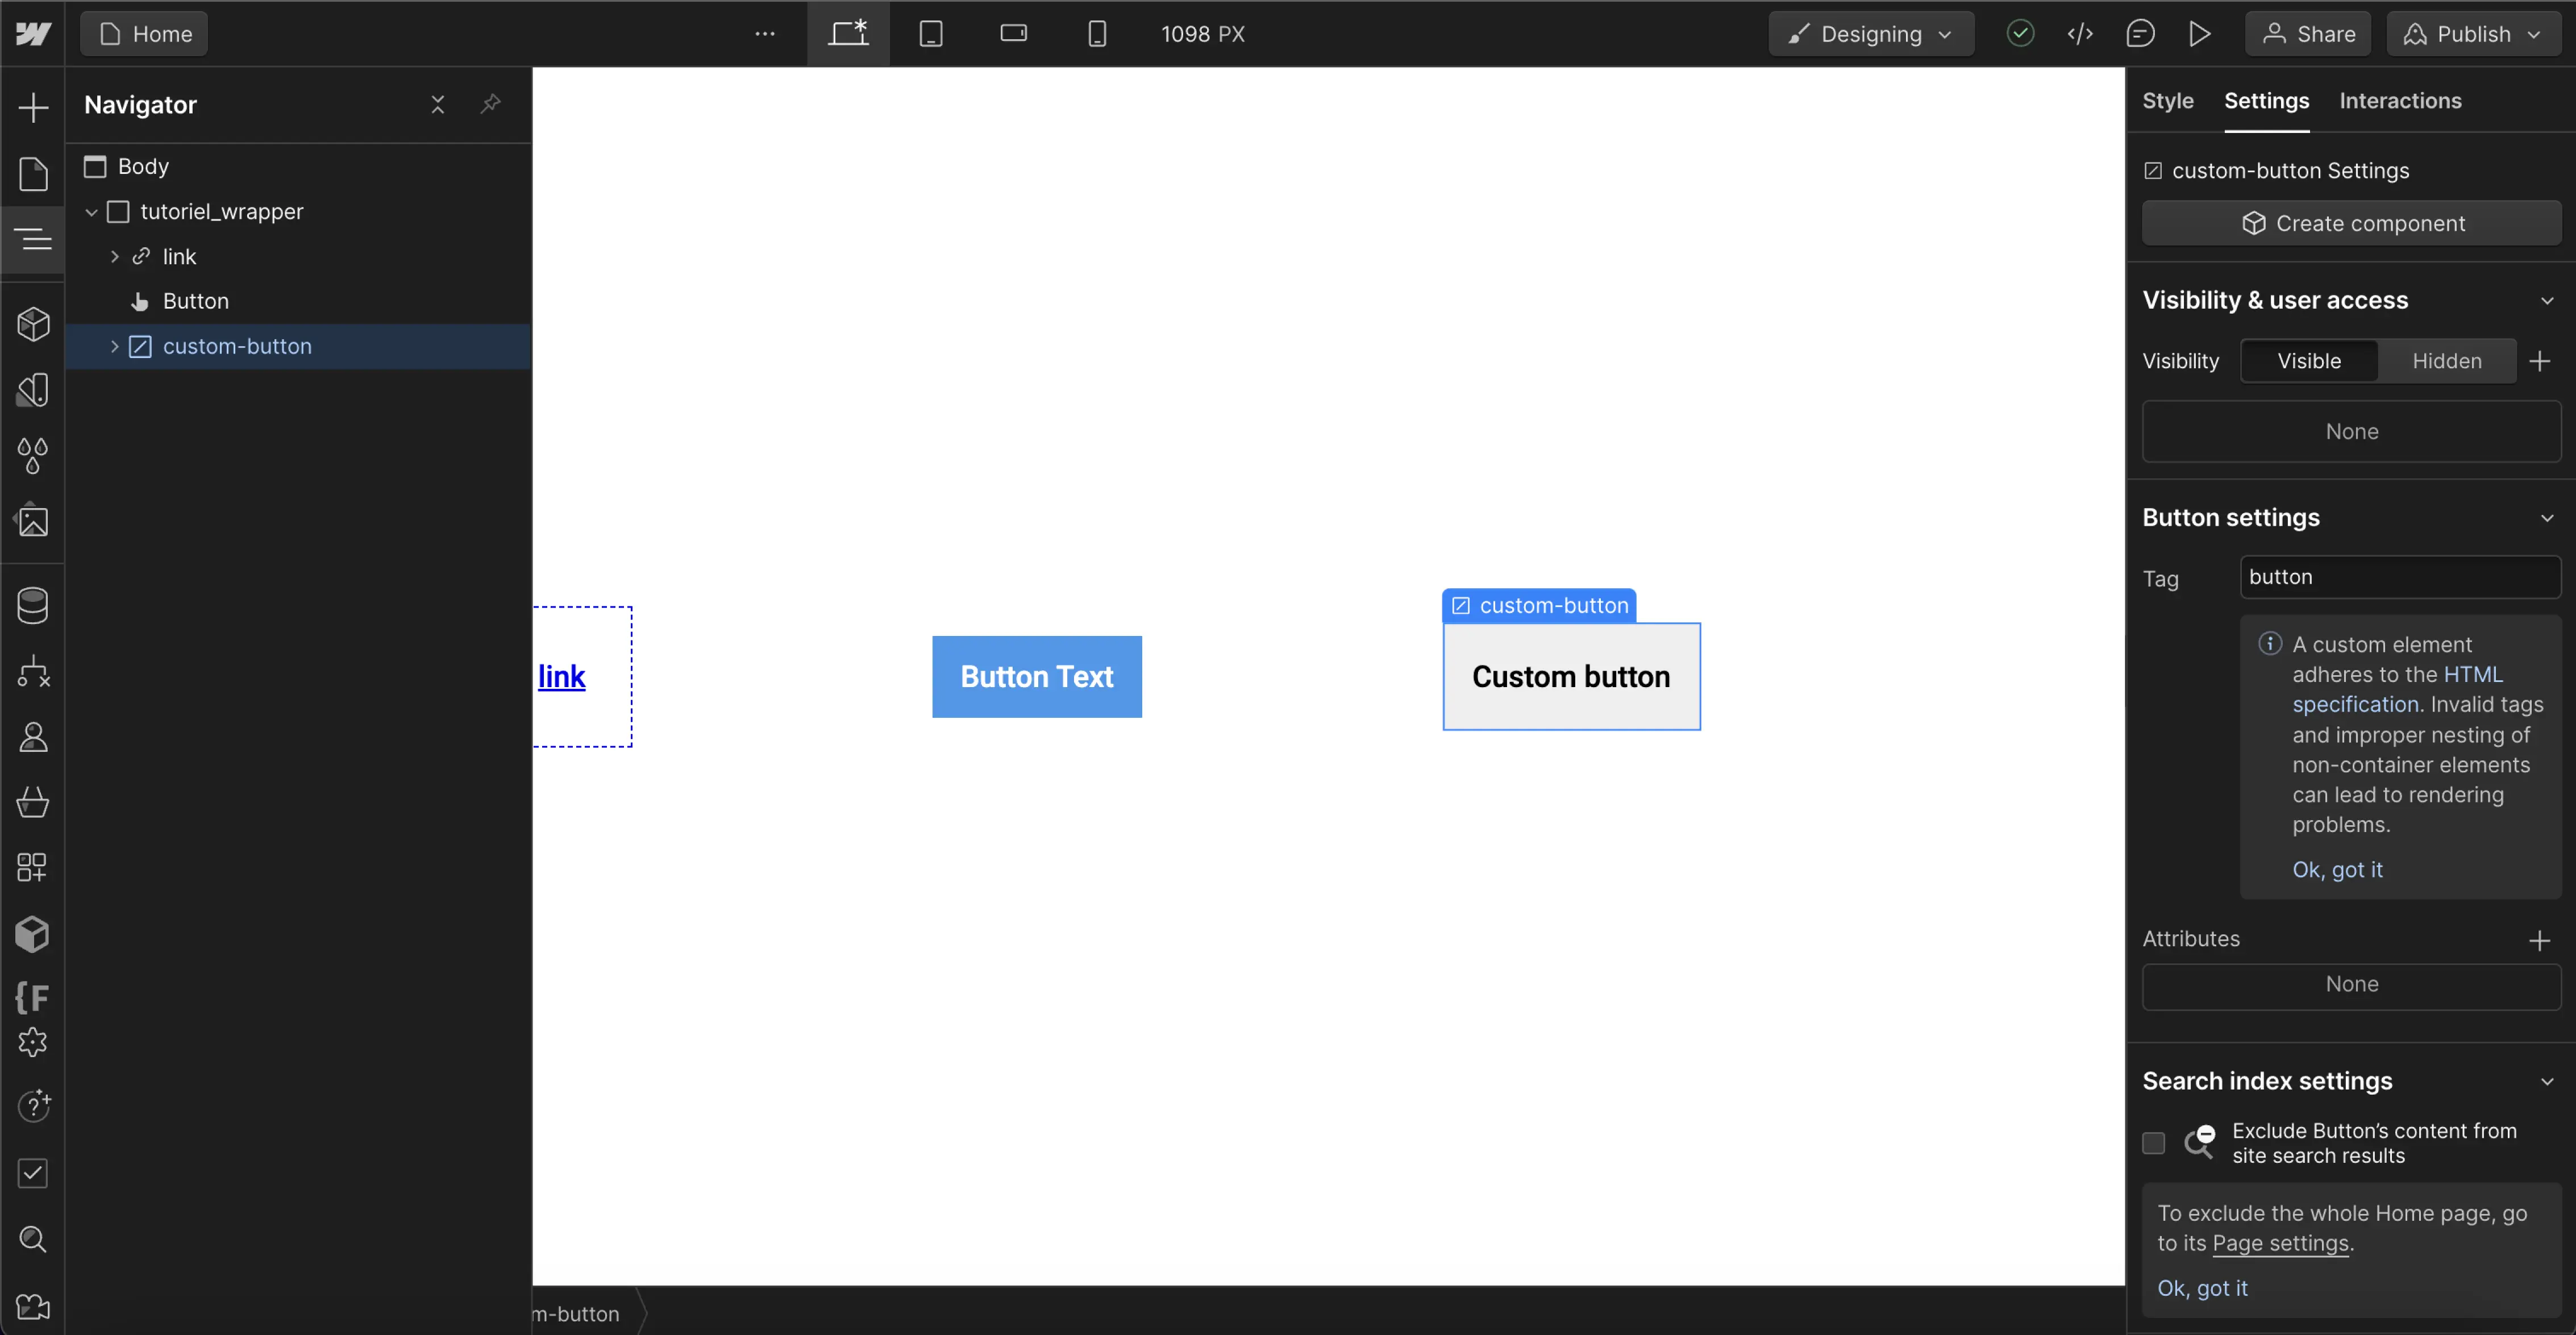
Si vous utilisez Webflow, l'élément bouton par défaut n'a en réalité pas une sémantique HTML correcte, mais vous pouvez personnaliser le "rôle" de ce lien avec l'utilisation des attributs Aria - ou - , vous pouvez créer un bouton avec la bonne sémantique HTML grâce au custom élément (DOM element), puis personnaliser son style grâce aux classes CSS.
Bonus : Plus de ressources ?
Pour en apprendre plus sur le webdesign et les nouveaux outils, découvrez nos ressources gratuites :
- Newsletter →
- Chaîne YouTube de Digidop ↗
- 3 cas d'utilisations pour améliorer la qualité de vos développements avec le nouveau DOM élément de Webflow


