

Discover how to create an SEO-friendly blog in your Webflow site to generate more traffic and consequently more leads thanks to your content!
Having a blog on your website is a rare gem if it is well optimised! Indeed, a blog allows you to put forward articles, case studies, events or any other type of content that could enhance a website. Moreover, it is a very powerful lever in SEO, since it allows you to position yourself on several queries and generate more traffic (therefore potentially leads).
Thanks to Webflow, once you have developed your blog in the designer, it is very easy for anyone to add a new article thanks to the editor mode. So you can create more content and develop your online visibility.
In our tutorial, we will show you how to create an SEO optimized blog from A to Z from Webflow!
1. Create a collection
The first step is to create a collection in Webflow for your blog. We are going to present you some important fields to insert in this one, but of course, you will be able to customize your collection to have a unique blog.
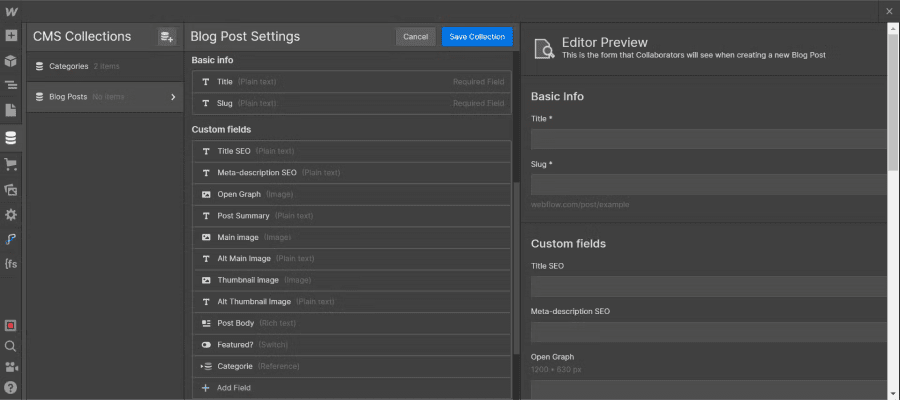
1.1 Important CMS blog fields to insert
First of all, it should be noted that the Name & Slug fields are mandatory. We will replace the title of the "Name" field with "Title" to optimise our collection. Thus, the "Title" field will be the title of our article and therefore our H1 (Heading 1: for SEO purposes).
Next, we will insert the fields that are essential for SEO:
- Plain text: "SEO Title" (you can add a 60 character limit if you wish to comply with SEO best practices)
- Plain text: "SEO Meta-description" (you can add a 160 character limit if you wish to respect SEO best practices)
- Image: "Open Graph" (the size of 1200 * 630 pixels must be respected)
The basic fields for your articles :
- Plain text: "Summary" (a short summary of your article to highlight)
- Image: "Main Image" (Main image of your article)
- Plain Text: "Alt Main Image" (Alt text of your Main Image)
- Image: "Thumbnail Image" (Image in front of each post on your blog page)
- Plain Text: "Alt Thumbnail Image" (Alt text of your Thumbnail Image)
- Rich Text: "Post Body" (To add content to your article and customise the style: add images, videos, links, bulleted lists, bold words, etc.)
The fields for a filtering system :
- Reference or Multi-reference: "Category", "Author", (you need to create another collection, for example "Categories" or "Author", add items in this collection and then select them in your blog collection)
- Switch: "Featured" (to highlight certain articles)
- Date if required
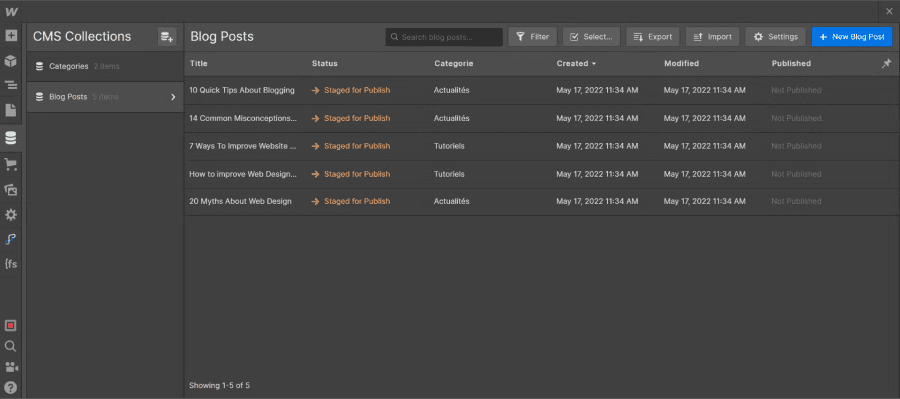
1.2 Adding items
Once you have created your collection with your custom fields, we advise you to add a few items or generate some with Webflow to have a preview during development.
2. Developing a static blog page with the dynamic collection
Now that you have some articles in your Webflow CMS, you can start the development phase. First, we will develop a blog page that will present the different articles of our CMS.
For this part, you can let your imagination run wild. If you have added a "Featured" field, you can for example put your featured articles in a section. To do this, you can add your basic section structure (in our case, with the client-first method: Section > Page padding > Container > Vertical padding). Insert a div that will contain your item(s) in front. Customise the component as you wish, but don't forget to insert a collection linked to your Blog Post collection. Arrange and add the elements as you wish.

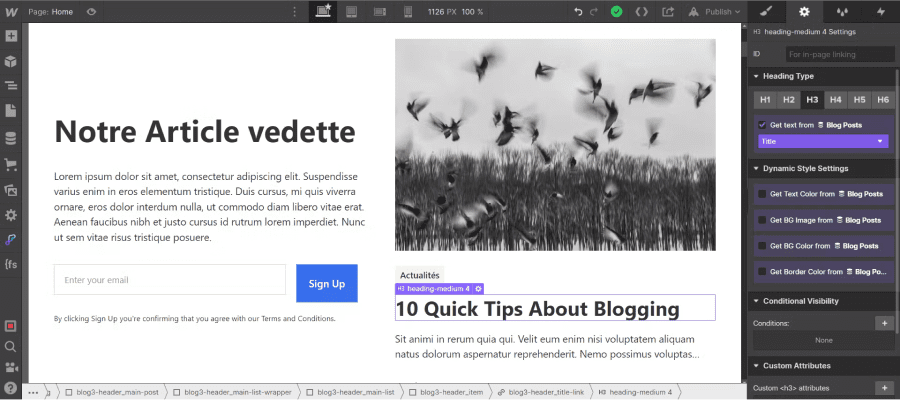
But don't forget to connect the fields and add a filter with the field Switch "Featured" is on in the collection settings!

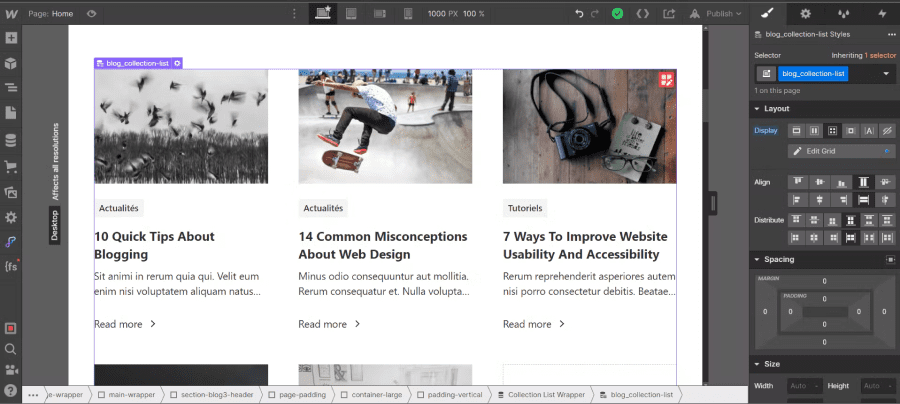
You can repeat the same operation for the list of your articles: A section with a collection linked to your "blog" collection. You can add a class to your list collection and then add a display grid for example. Then in the item collection add the different elements you want to highlight (Thumbnail Image, Categories, Title, Summary).
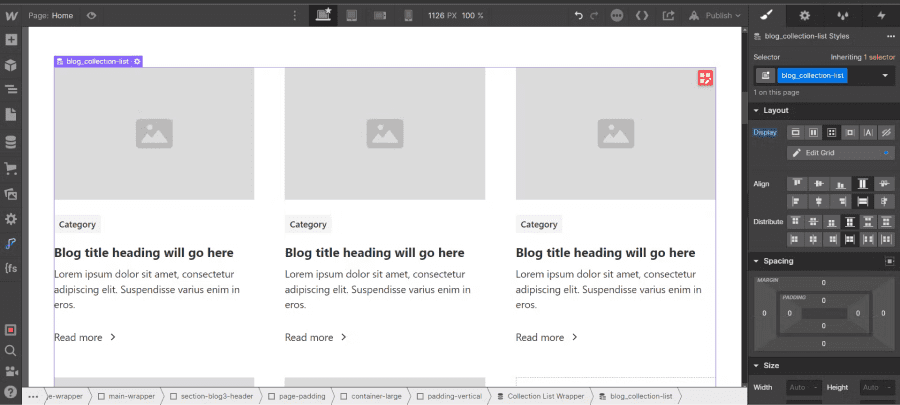
Next, we connect our fields 1 to 1 (don't forget the Alt Text for the images):
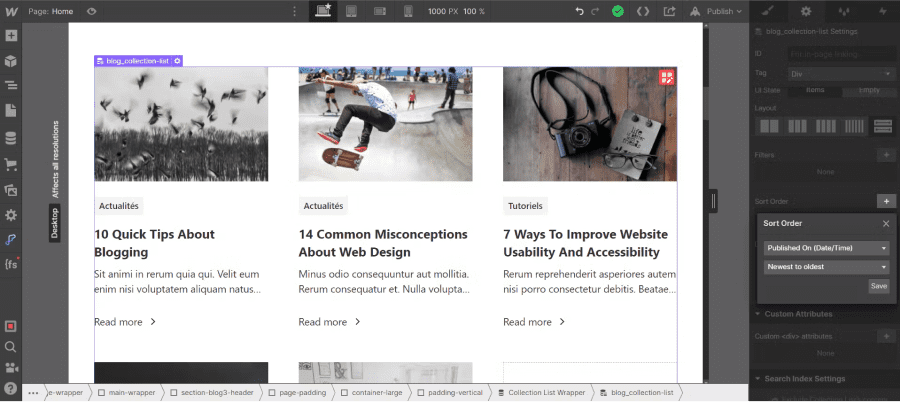
Next, we add a sorting order for our collection by publication date from newest to oldest:
To add a filtering system to your blog page in Webflow, we invite you to have a look at our CMS Filter by Finsweet tutorial on this subject!
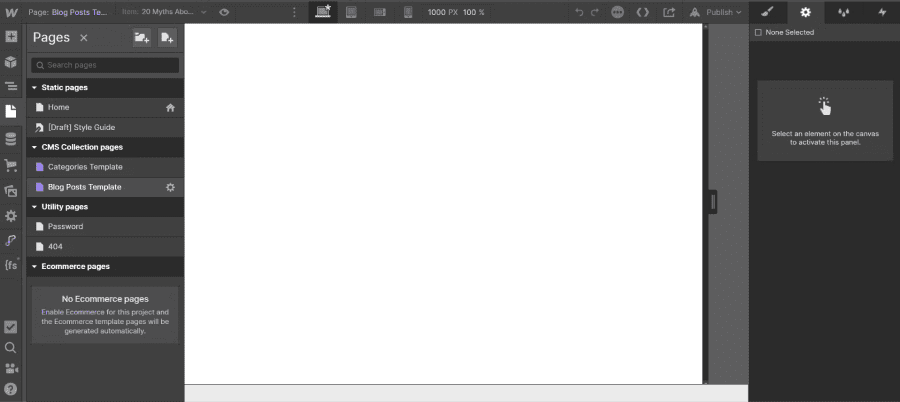
3. Developing the template for dynamic pages (articles)
Now that our blog page is created, we can tackle the article pages. To design the templates of a collection, you have to go to the purple page corresponding to your collection from Webflow (in CMS collection pages):
Then, simply expand the page as you wish according to the fields you have entered in the collection, remembering to connect them.
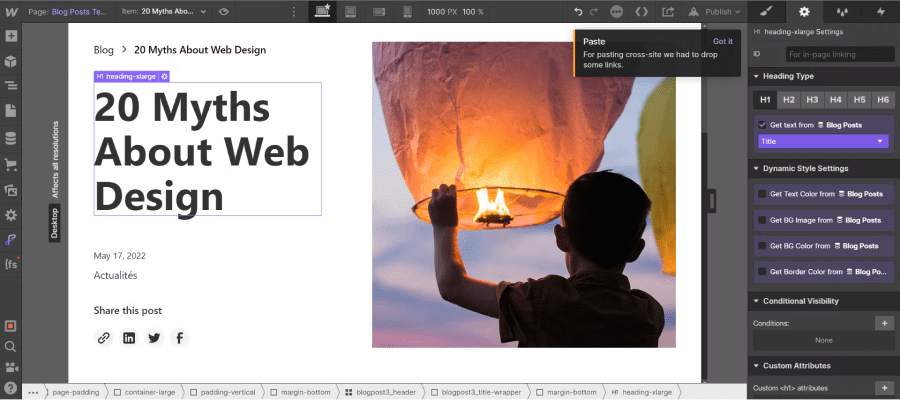

Customize your template page as you wish. With Webflow, the only limit is your imagination.
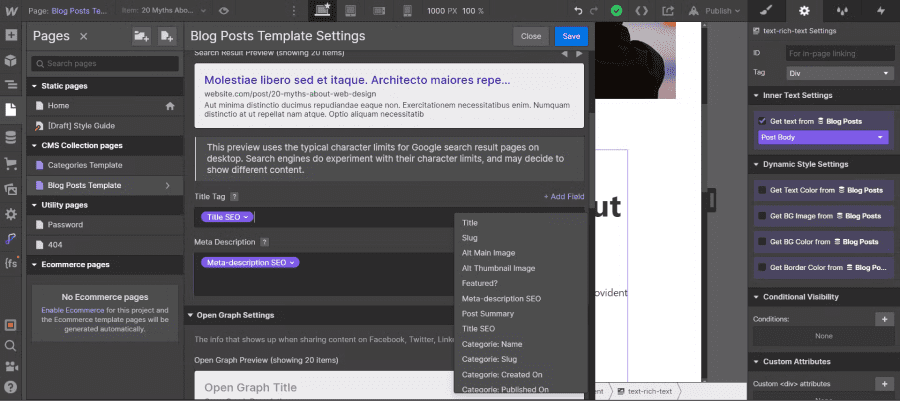
4. Setting up dynamic pages
Now that you have developed your pages, you can set up the dynamic page of your collection. In the "Title Tag" field, we will connect to our "Title SEO" field and we will do the same for the "Meta Tag". Click on "Add Field".
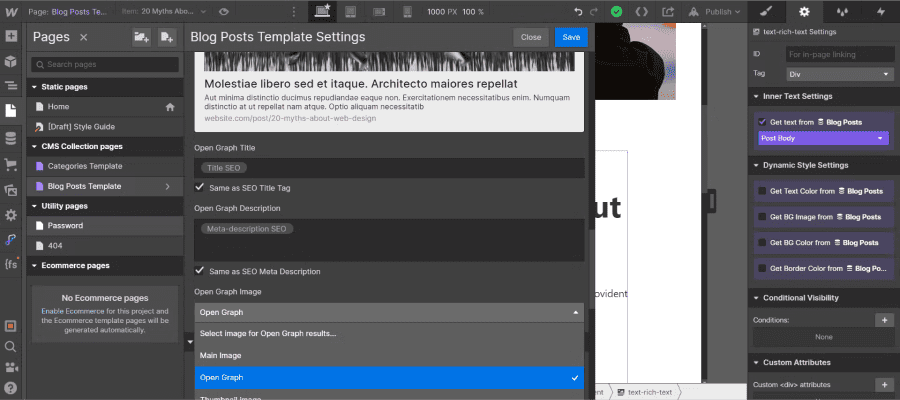
Finally, in the "Open Graph Settings" section, we will check in "Open Graph Title" and "Open Graph Description", the box "Same as SEO Title Tag" and "Same as SEO Meta description". Then in "Open Graph Image" we will select our custom field "Open Graph".
So now you know how to build an SEO-friendly blog on your Webflow site.
If you need help in developing Webflow pages, we are here for you!


.jpg)


