A quick tutorial to integrate a particular CSS style when sharing code in a rich text Webflow!
On our blog, we often insert short code snippets that we share with the Webflow user community. However, when you simply copy/paste code into a Rich Text field on Webflow, two major problems occur:
- Your article is no longer responsive: the code has no space between these characters so Webflow puts it on the same line and creates an absolutely terrible "horizontal scrolling"...
- It is difficult to identify in an article (identical design)
Our goal was to give them a class of their own in order to improve the UI and in particular the responsive, with an overflow scroll, when sharing the code pieces!
The writing of this article is a co-production! THANKS to Chris @Lumious Digital(Youtube channel here) who shared his solution on the Slack Webflow Expert !!!
5-step guided tutorial:
1 - Create a class in your Styleguide
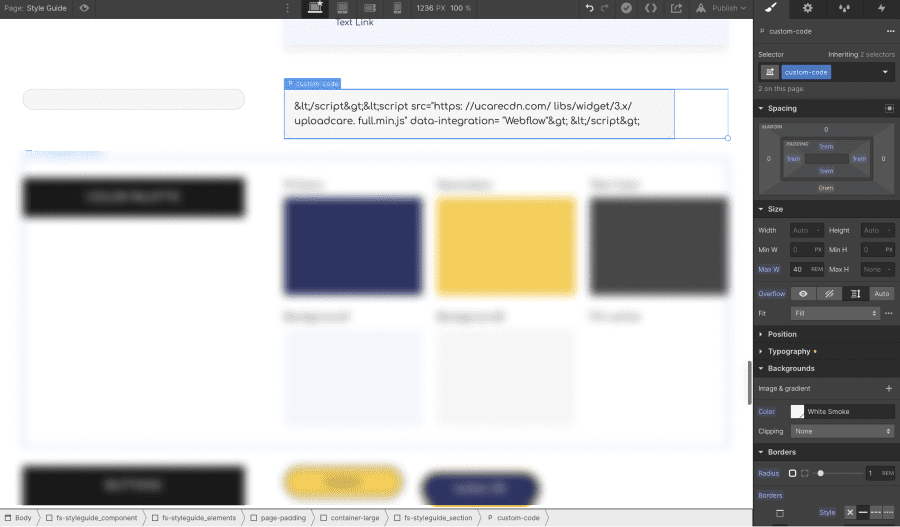
For the example we create a class .custom-code. It doesn't matter if it's a div block or a paragraph. Just create a CSS class with the style of your choice.

In our case, we designed it as follows:
- Bakcground color whitesmoke
- Border black with a 1rem radius
- Overflow: scroll
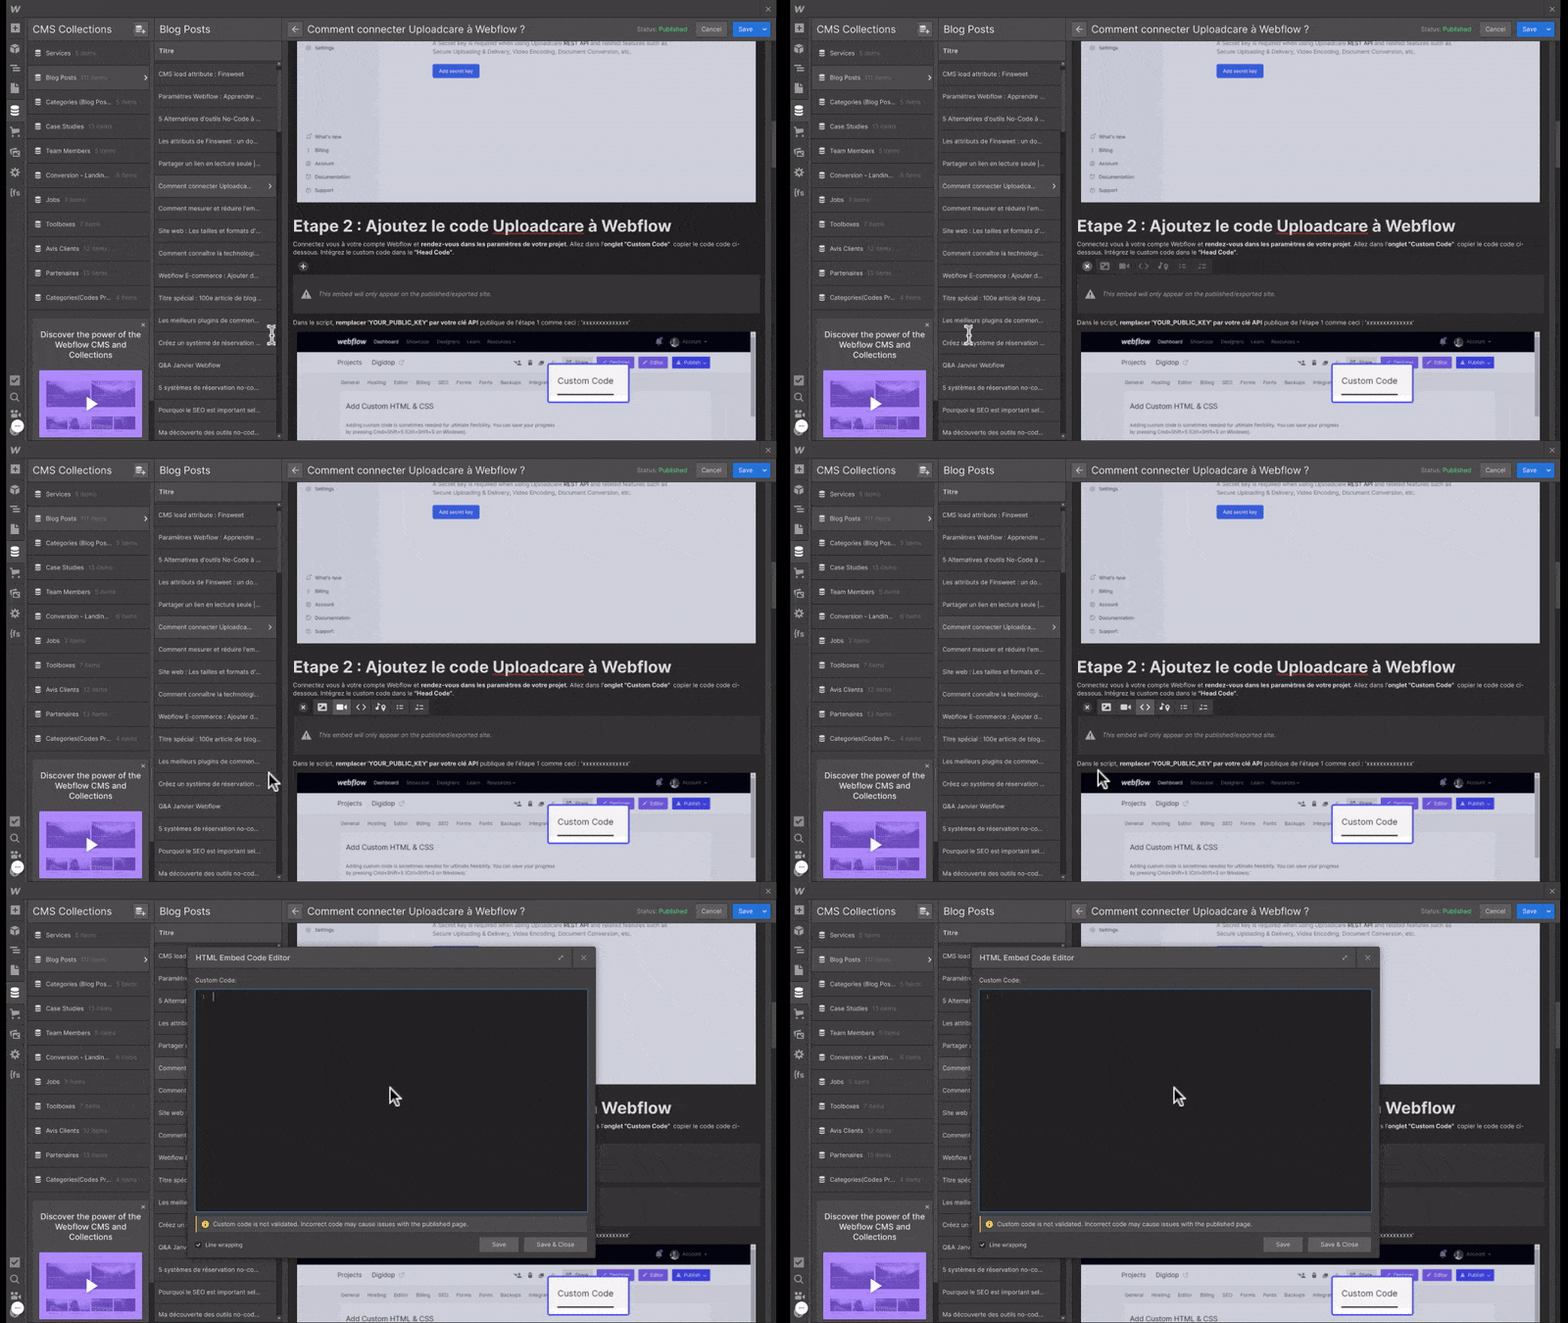
2 - Open the Rich Text of your blog post
3 - Add a Custom Code element (HTML code editor)

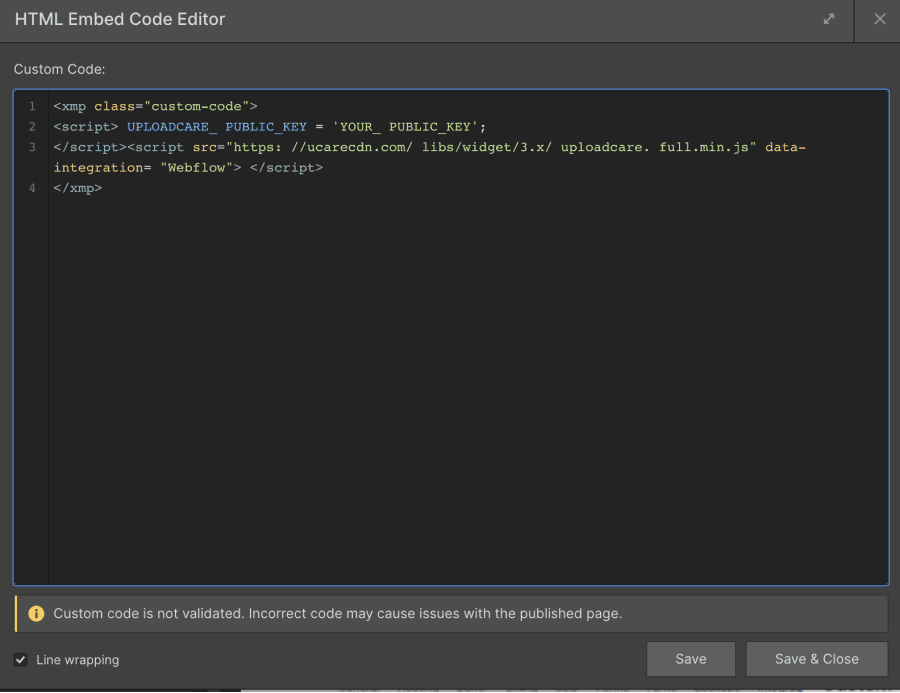
4 - Intégrez votre code avec "<!-- fs-richtext-ignore --><xmp> - </xmp>"

Xmp est une variante plus récente de l'ancienne fonctionnalité <!-- fs-richtext-ignore --><pre>. Elle permet aux moteurs de recherche de savoir qu'ils ne doivent pas prendre la peine d'exécuter le code qui suit, mais seulement l'utiliser à des fins de "vitrine" . Vous pouvez remplacer la valeur "custom-code" ici par le nom de votre classe CSS.
5 - Publish your site!
And this is the result!

Discover other Webflow tutorials on our blog or on our youtube channel 🍿
Now you can also change the preview of a code on Webflow with Finsweet to have a professional design.


.jpg)


