In today's Webflow tutorial, we will see how to add a glassmorphism effect to your Webflow project.
In today's Webflow tutorial, we will see how to add a glassmorphism effect to your Webflow project.
1 - What is glassmorphism?
Glassmorphism is a user interface (UI) trend that gives a transparent effect to elements. However, it is not just transparency, in fact, this design style offers a "frosted glass" effect. Thanks to the depth and hierarchy system, a layered impression can be brought to the fore, as if there are pieces of glass on top of your device.

2 - How to add a glassmorphism effect on your Webflow site?
To give a glass effect to your elements on Webflow, there is a very simple method. In a few steps, you can have this design trend on your site.
2.1 - Prepare your block in Webflow
First, you will need to log in to your Webflow account and enter your project designer.
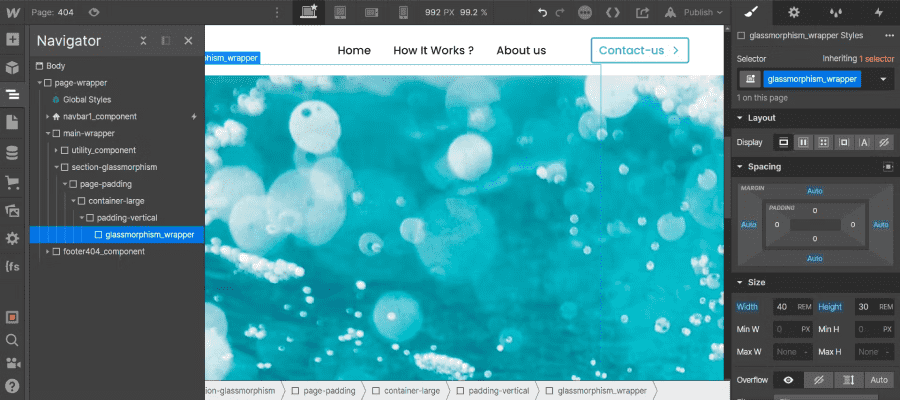
Next, you will go to the section, where you want to add a glassmorphism effect. Once inside, you will be able to add a "div block". You have to remember to name it with a class. You can position it wherever you want, give it your own dimensions, but you must not give it a background.
2.2 - Go to Glassmorphism.com
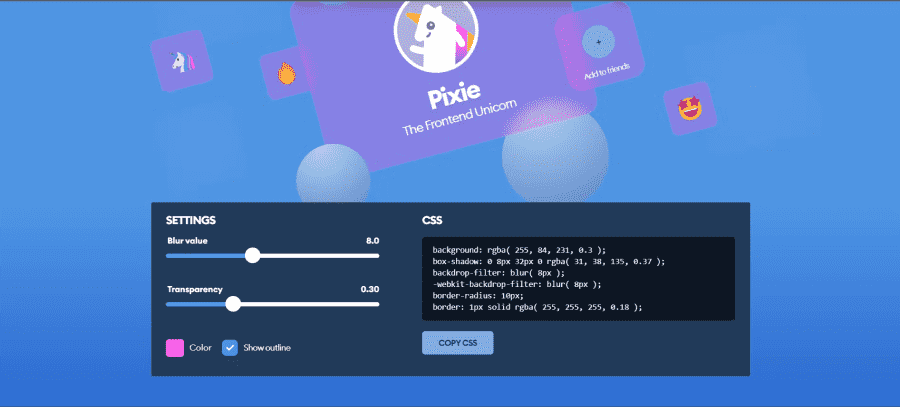
Glassmorphism.com offers a handy no-code tool to test your glassmorphism effects live and copy the CSS code for the effect. You can play with transparency, blur and colour. Once you have the effect that suits you best, you can copy the glassorphism css code.
2.3 - Adding code to an embed on Webflow
Now that you have copied the css code, you can return to your Webflow project. In the previous "div block" you created, you will be able to insert the "embed" element.
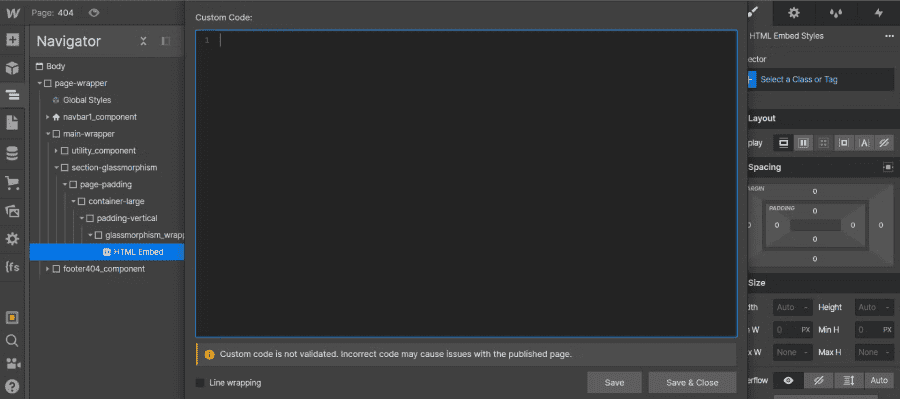
In the code editor, you will add the following code and customise it according to your settings:
For example, in our case, this gives :
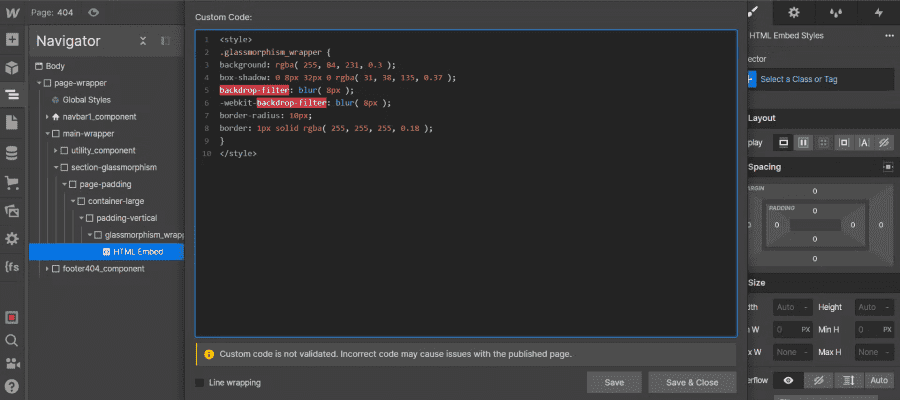
Then click on "Save & close". Your effect is automatically put in your block.
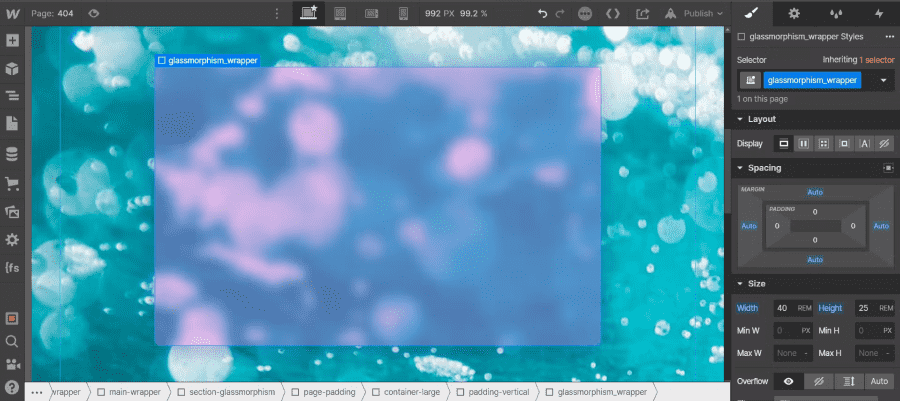
You can then add elements on top or behind your glassmorphism effect.
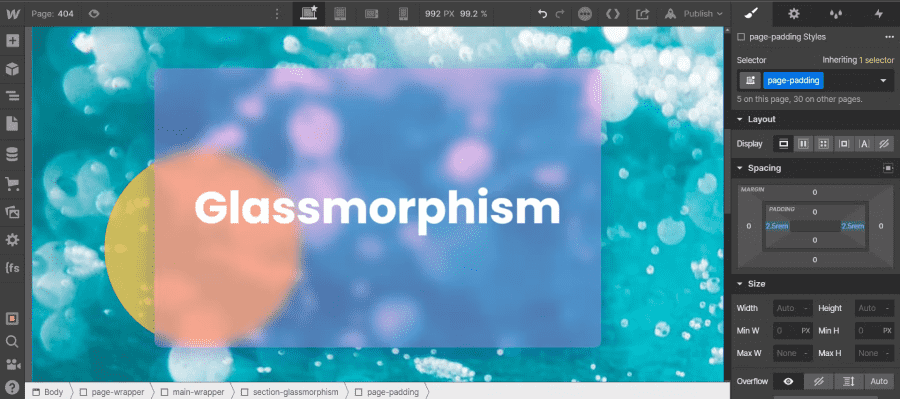
Another method is to play with the opacity of the background and the blur of your block, but the result will not be the same.
Now you know how to add the glassmorphism effect to your blocks on Webflow. To learn more about Webflow, you can visit our blog or our YouTube channel!


.jpg)


